Reimbursement User Guide
This chapter explains how employees create, submit, and track reimbursement claims. Use reimbursement when you need to claim company expenses such as travel, meals, parking, hotel invoices, medical costs, project expenses, or other claim types configured by your company.
A reimbursement normally follows this flow:
The menus and forms you see may be different from other users. Access depends on your role, position, and company configuration.
Reimbursement Menus
The reimbursement menus help you create and monitor claims.
| Menu | What It Shows |
|---|---|
| Create Reimbursement | Forms you can use to create a new claim. |
| My Reimbursements | Claims you created. |
| Team Reimbursements | Team claims you are allowed to view. This depends on your role and position hierarchy. |
| All Reimbursements | Company-wide claims, if your role has access. |
If you do not see a menu, your role may not have access to it. Ask your administrator to review your role access.
Choose A Reimbursement Form
Open Create Reimbursement, then choose the form that matches your claim type.
Common examples:
| Form | When To Use It |
|---|---|
| General Claim | Daily operational expenses such as meals, parking, or office supplies. |
| Travel Claim | Business trip expenses, hotel invoices, transportation, or travel meals. |
| Medical Claim | Medical or health-related reimbursements. |
| Project Claim | Expenses related to a project or client work. |
If a form does not appear, one of these may be true:
- The form is inactive.
- Your role does not have access to the form.
- You are using the wrong company account or company URL.
Create A Reimbursement
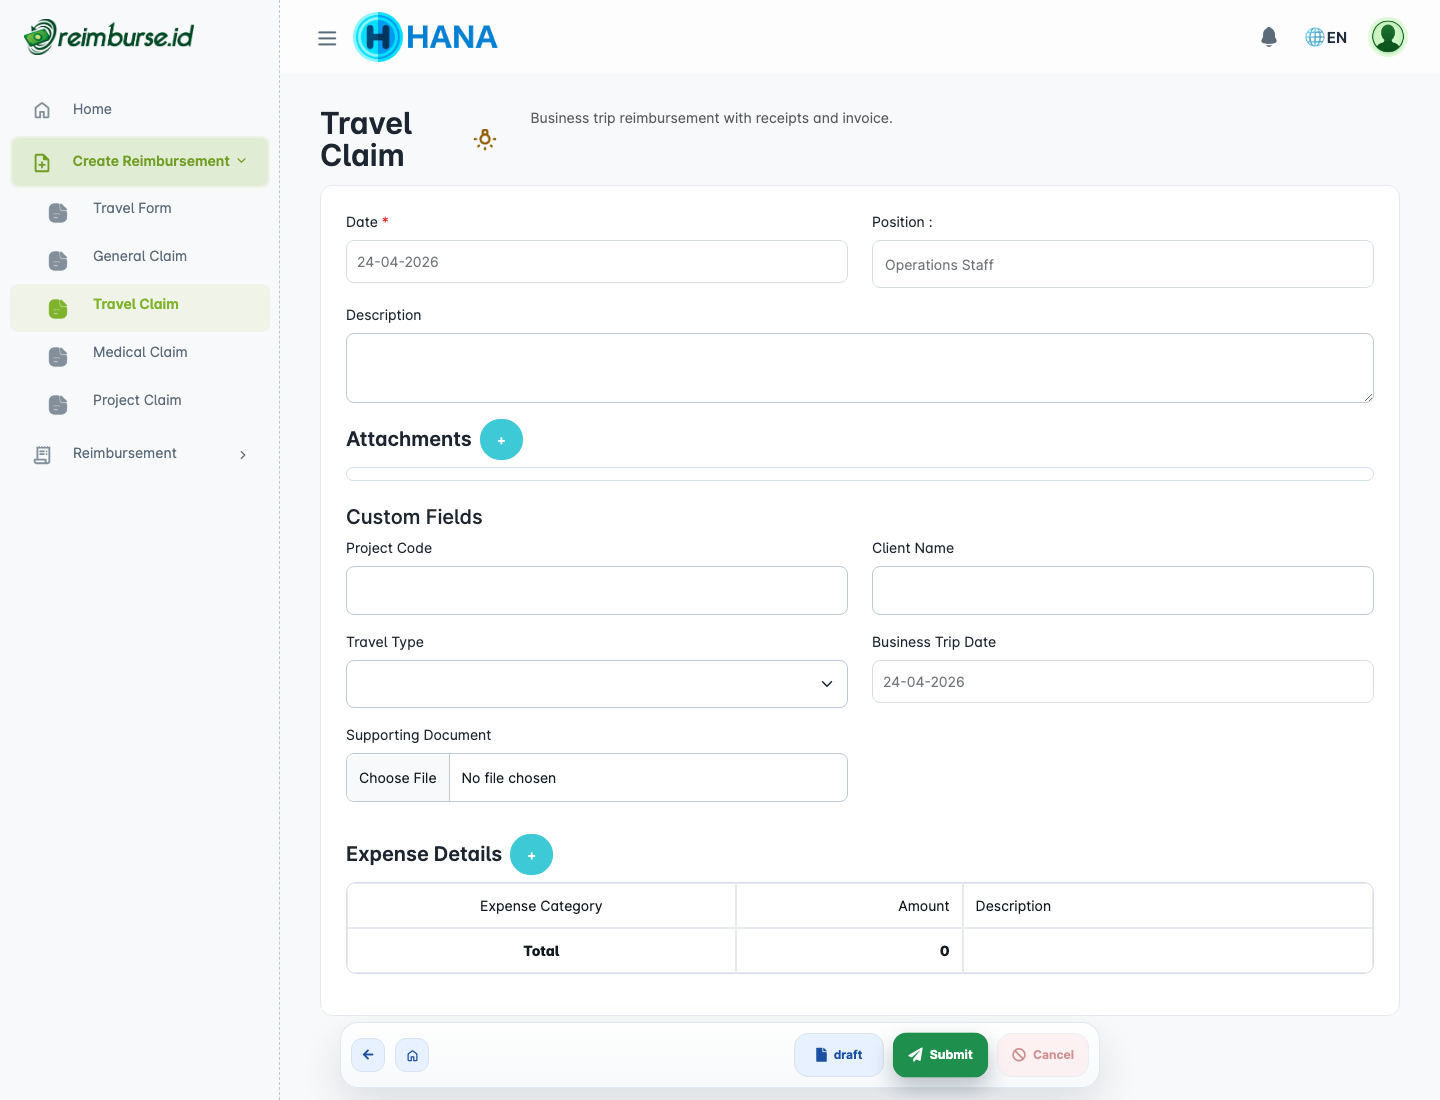
After selecting a form, fill in the reimbursement information.
Read Form Instructions
Some reimbursement forms show instructions before you submit.
If instructions are enabled for the form, you will see an instruction icon next to the form name at the top of the page. Click the icon to open the guidance.
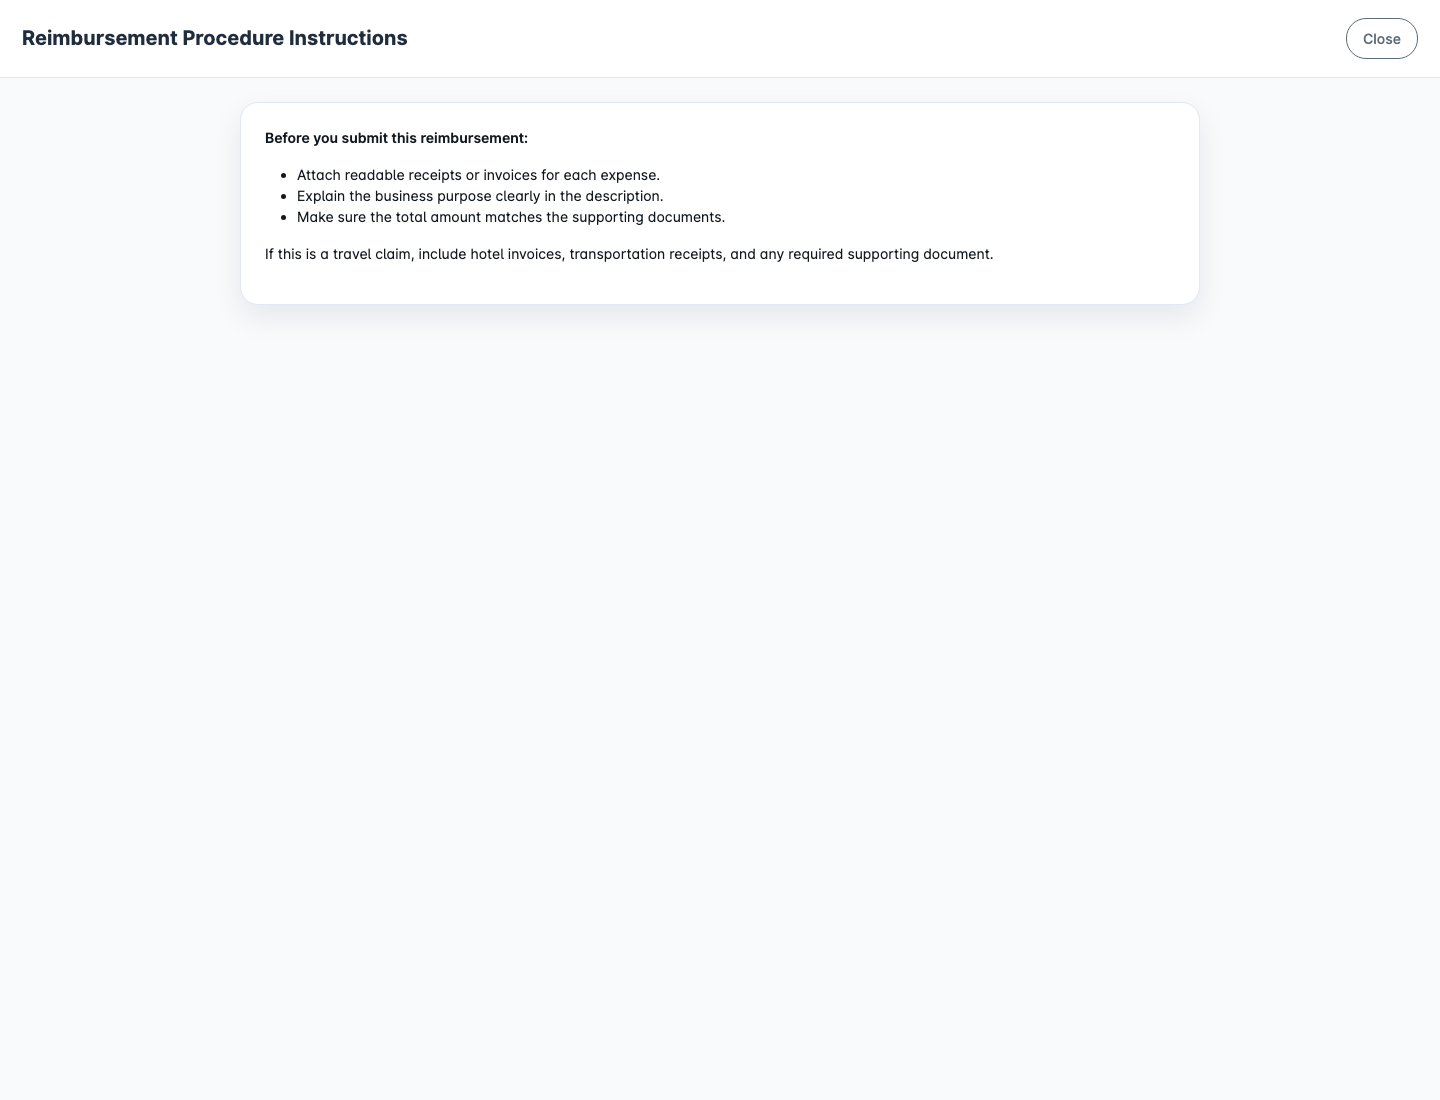
Instructions help you understand the submission requirements for that form. For example, the instruction may remind you to:
- Attach readable receipts or invoices.
- Explain the business purpose clearly.
- Make sure the total amount matches the supporting documents.
- Upload additional supporting files for travel or project claims when required.
If you do not see the instruction icon, that form may not use instructions. You can continue filling in the reimbursement normally.
Common fields:
| Field / Area | What To Fill In |
|---|---|
| Date | The date of the expense or claim. Some forms lock this field automatically. |
| Position | Your position in the company structure. Some forms lock this field automatically. |
| Description | A short explanation of why the expense was made. |
| Attachments | Main receipts, invoices, or supporting evidence. |
| Custom Fields | Additional information requested by your company, such as project code or client name. |
| Detail Custom Fields | Additional information that may need to be filled in on each expense line. |
| Expense Details | Detailed expense lines, such as hotel, taxi, meals, parking, or supplies. |
| Draft | Saves the claim without submitting it for approval. |
| Submit | Sends the claim to the approval process. |
Recommended practice:
- Use a clear description so other reviewers can understand the business purpose.
- Check the date before submitting, especially if your company uses close period controls.
- Fill all required custom fields.
- Upload readable receipts or invoices.
- Confirm the total amount before submitting.
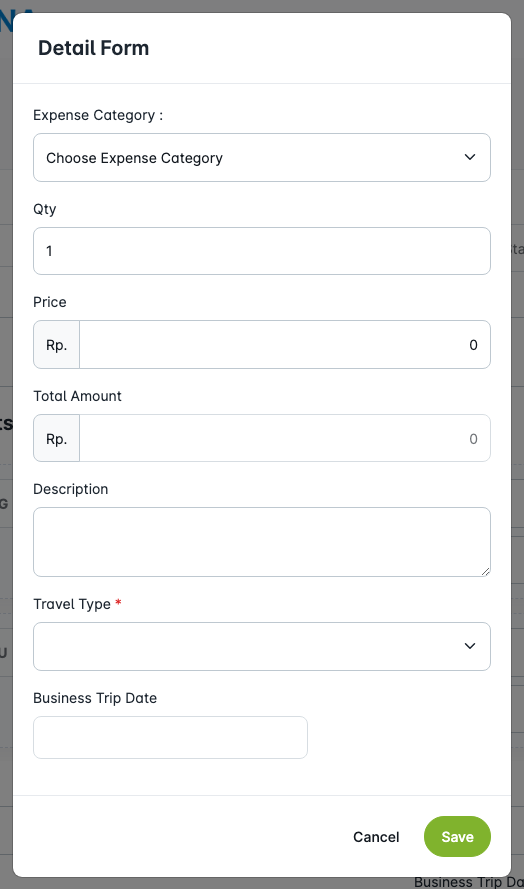
Add Expense Details
Expense details explain what you are claiming. A reimbursement can contain one or more expense lines.
For each line, the form can use one of these two modes:
| Detail Mode | What You Fill In |
|---|---|
| Amount-only mode | Expense Category, Amount, and Description. |
| Qty & Price mode | Expense Category, Qty, Price, line total, and Description. |
For each line, normally fill in:
| Field | What It Means |
|---|---|
| Expense Category | The type of expense, such as hotel, meals, transportation, parking, or office supplies. |
| Amount | The amount you want to claim for that line. |
| Qty | The quantity for that line when the form uses qty-and-price mode. |
| Price | The unit price for that line when the form uses qty-and-price mode. |
| Description | Additional explanation for that expense line. |
Here, Expense Category means the master category for each expense line. It is different from the Reimbursement Form you selected at the beginning.
Tips:
- Use one line per expense category when possible.
- Make sure the total amount matches your receipts or invoices.
- Add a clear description when the expense is not obvious from the receipt.
- If an expense category is missing, it may be inactive or unavailable. Ask your administrator.
If the reimbursement form uses Qty & Price, the line total is based on Qty x Price. This is common for claims such as nights stayed, repeated items, mileage, or unit-based purchases.

Some forms also show additional detail custom fields inside each expense row. Fill them when they appear, because the values belong to that specific line item rather than the reimbursement header.
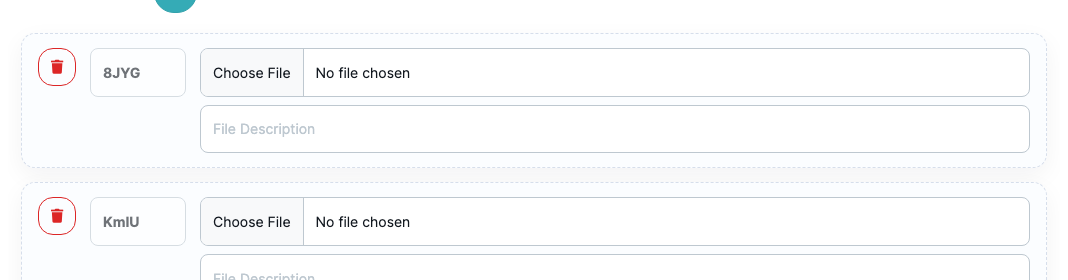
Add Attachments
Attachments help approvers and the payment team verify your claim.
Common attachment types:
| Type | Example |
|---|---|
| Image receipt | Supermarket receipt, taxi receipt, meal receipt, parking receipt. |
| PDF invoice | Hotel invoice, vendor invoice, official billing document. |
| Supporting file | Spreadsheet or document with trip details, event details, or other evidence. |
Recommended practice:
- Upload clear images or PDF files.
- Avoid blurry, cropped, or unreadable receipts.
- Use meaningful file names when possible.
- Upload all required supporting documents before submitting.
- If the form says attachment is required, the claim cannot be submitted until the required attachment is uploaded.
Attachment Description
Some reimbursement flows also let you add a description to each main attachment.
Use attachment descriptions when:
- one reimbursement contains several similar receipts,
- the file name is not clear enough,
- you want to explain what a supporting file represents before the approver opens it.
Examples:
Taxi receipt airport to hotelHotel invoice for 3 nightsEvent participant list
Preview Attachments
You can preview uploaded receipts and invoices without downloading them first.
Image Preview
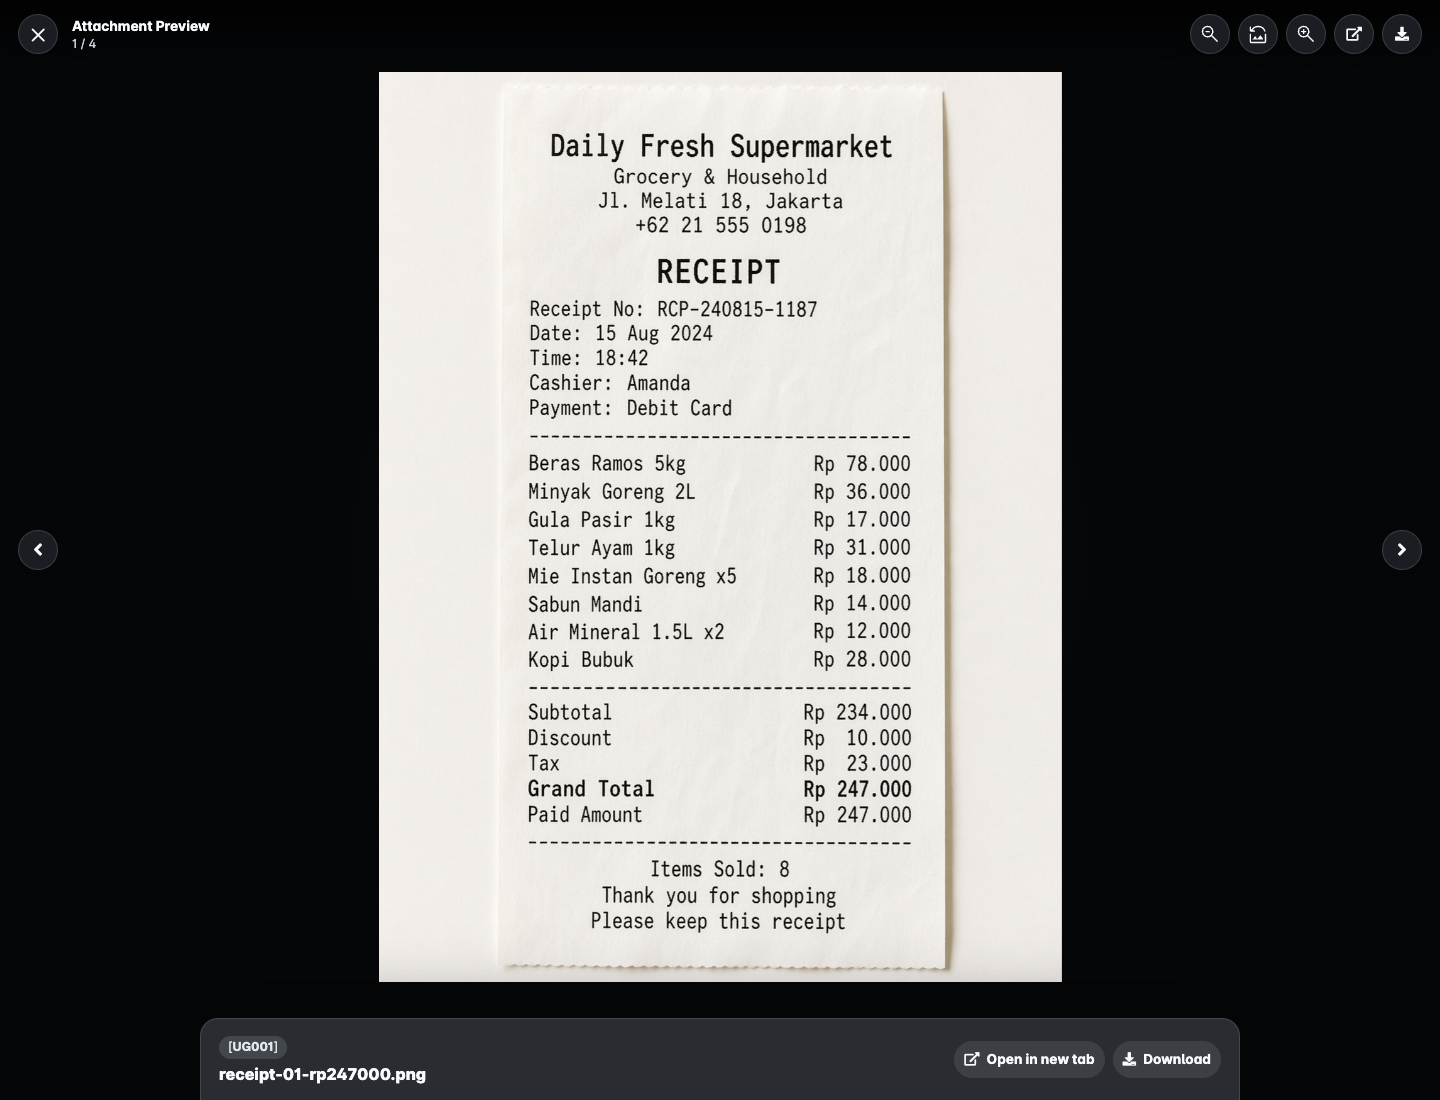
For image files, the preview opens in a full-screen viewer.
| Control | What It Does |
|---|---|
| Close | Returns to the reimbursement detail page. |
| Previous / Next | Moves between attachments. |
| Zoom in / Zoom out | Enlarges or reduces the image. |
| Reset zoom | Returns the image to the default size. |
| Open in new tab | Opens the file in a new tab or external browser when supported. |
| Download | Downloads the file. |
| File code | Shows the attachment code, if available. |
| File name | Shows the uploaded file name. |
Attachment codes can be used as an extra administrative control for receipt handling. If your company uses them, employees may write the attachment code on the receipt before taking the photo. This helps reduce the risk of the same receipt being submitted more than once and gives reviewers a clearer reference during checks.
On desktop, you can also use the keyboard:
| Key | Action |
|---|---|
Esc | Close preview. |
| Left arrow | Previous attachment. |
| Right arrow | Next attachment. |
On mobile, image preview supports touch gestures when supported by the device:
| Gesture | Action |
|---|---|
| Pinch | Zoom in or zoom out. |
| Drag | Move around the image when zoomed. |
| Swipe left or right | Move to the next or previous attachment when not zoomed. |
PDF Preview
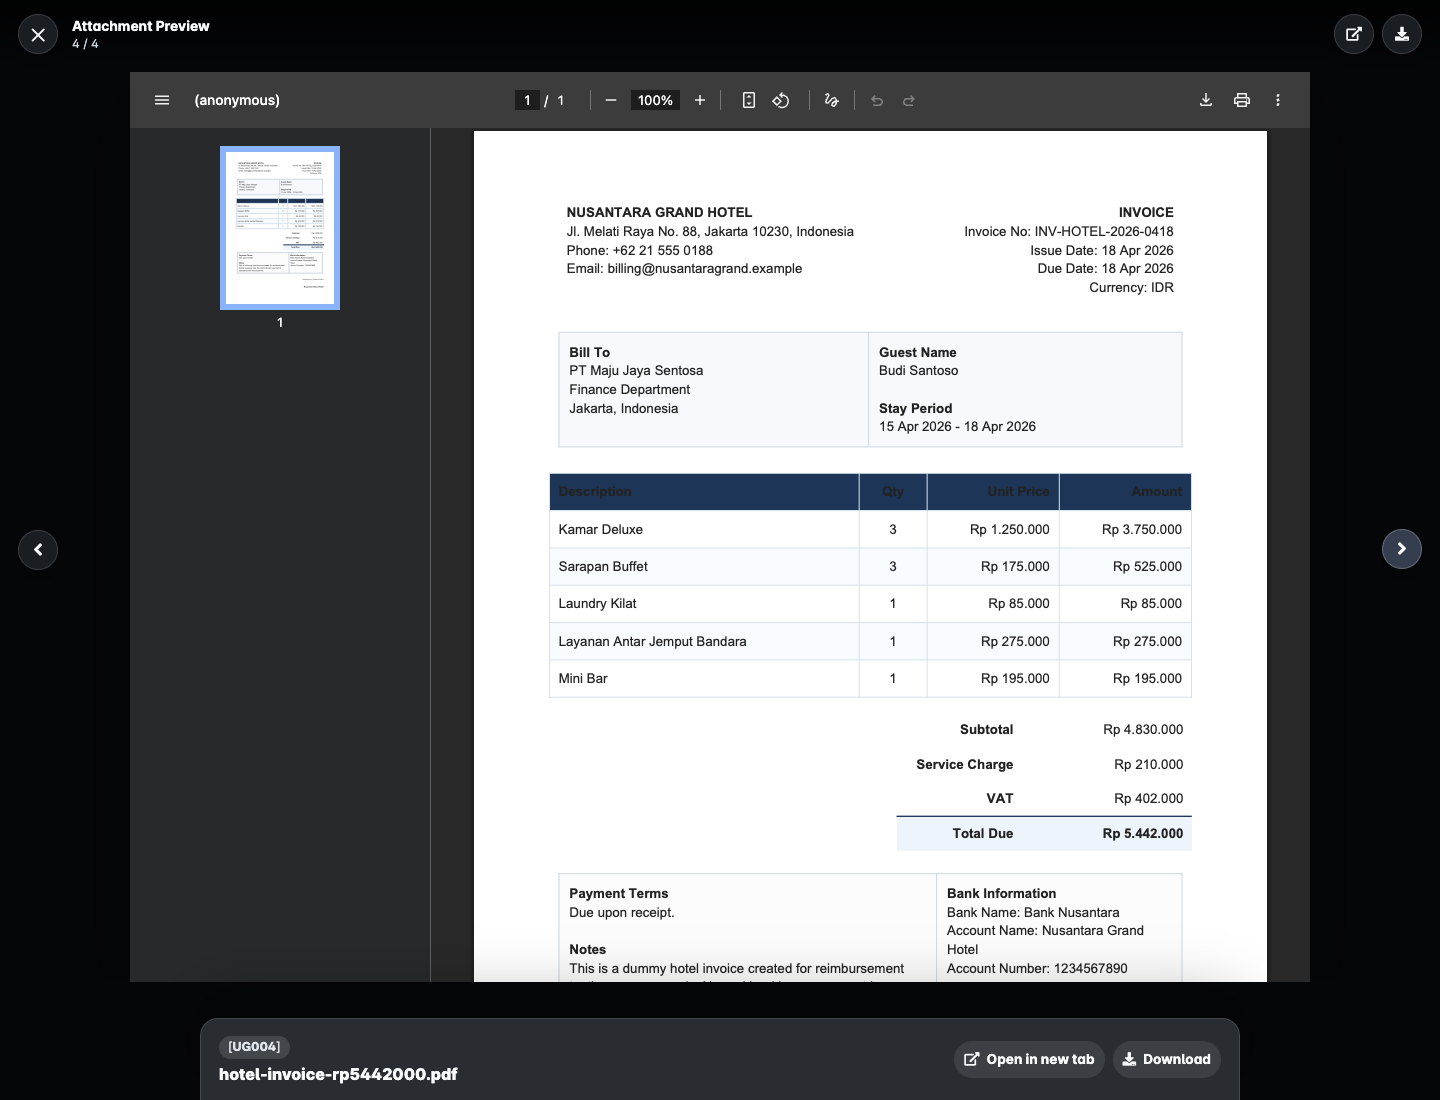
PDF files can be previewed directly on desktop when the browser supports PDF viewing. On some mobile devices, the app may show open/download options instead of inline preview.
Other File Types
Files such as spreadsheets or documents may not have inline preview. If preview is not available, use Download to open the file on your device.
Save Draft Or Submit
At the bottom of the reimbursement form, choose the action that matches your situation.
| Action | Use It When |
|---|---|
| Draft | You are not ready to submit yet and want to continue later. |
| Submit | The claim is complete and ready for approval. |
| Cancel | You want to leave the form without continuing the current action. |
Before submitting, check:
- The date is correct.
- The description is clear.
- Expense details are complete.
- Attachments are uploaded.
- Required custom fields are filled.
- Amounts match the supporting documents.
After you submit, the reimbursement enters the approval flow configured by your company. If the form does not require approval for your claim, it may move directly to the approved stage.
Track Reimbursement Status
Open My Reimbursements to track claims you created.
Common statuses:
| Status | Meaning |
|---|---|
| Draft | The claim is saved but not submitted. |
| Pending | The claim is waiting for approval. |
| Partial Approved | Some approval steps are complete, but more approvals are still needed. |
| Approved | The claim has completed approval and can proceed to payment. |
| In Batch Pending Approval | The claim is included in a payment batch that is waiting for approval. |
| In Batch Ready To Pay | The claim is included in a payment batch ready for payment. |
| Paid | The claim has been paid. |
| Rejected | The claim was rejected by an approver. |
| Void | The claim was cancelled. |
Status names may appear differently depending on company language settings, but the process meaning is the same.
Edit, Void, Or Resubmit
Available actions depend on your role, the reimbursement status, and company settings.
| Action | When It Is Usually Available |
|---|---|
| Edit draft | Available while the reimbursement is still a draft. |
| Edit submitted claim | Usually not available once the document has moved beyond the creator-controlled stage. |
| Void | Available only when the document can still be cancelled. |
| Resubmit | May be available after a claim is rejected, depending on the flow. |
Important ownership behavior:
- The creator is responsible for preparing and correcting the reimbursement before and during the allowed stages.
- Team or company-wide reimbursement lists are primarily for viewing and permitted operational actions, not for editing another user's draft.
If you cannot edit or cancel a reimbursement, it may already be in approval, payment, or paid status. Contact your approver, payment team, or administrator if a submitted claim needs correction.
Print Reimbursement
Some reimbursement forms use a custom print template.
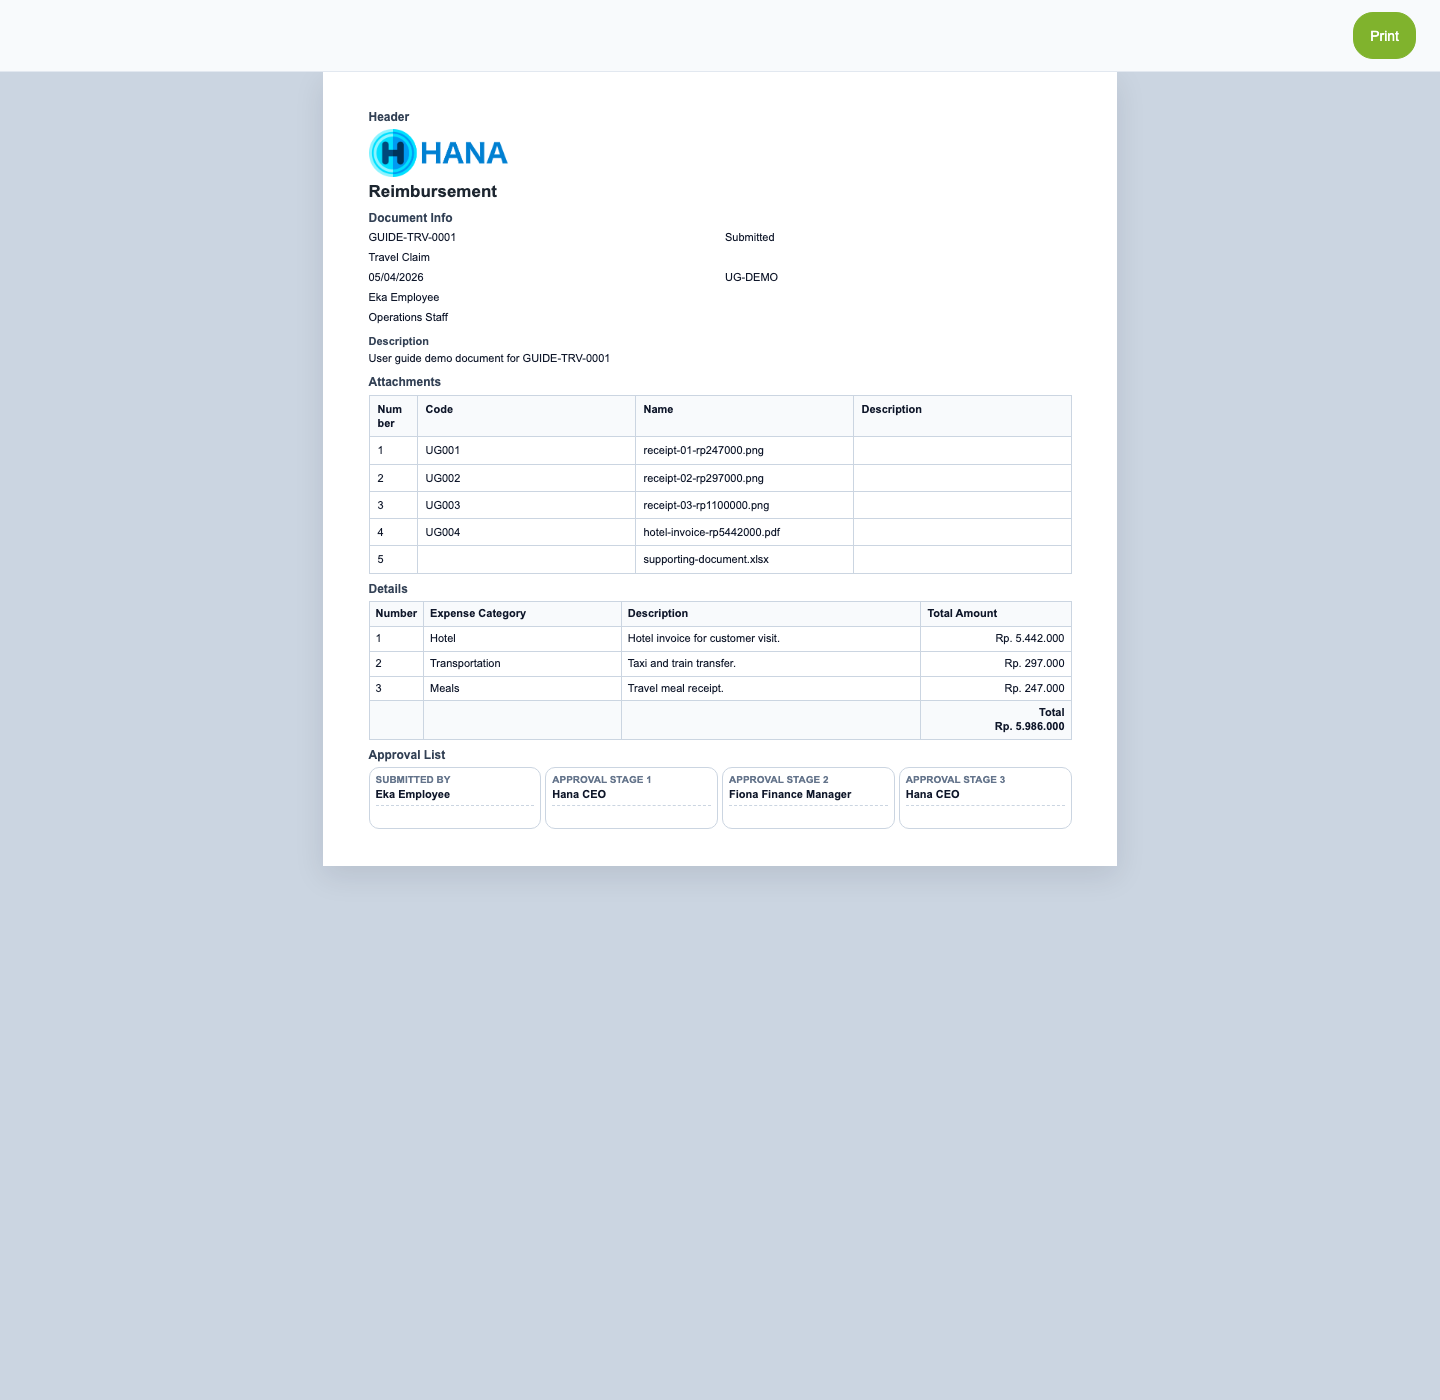
This means:
- the printed reimbursement output can be different from one form to another,
- the print layout follows the reimbursement form that was used to create the document,
- some printed fields may be empty if the template includes fields that do not have values in that reimbursement.
If your role is responsible for reviewing other users' claims, continue to Approval Guide for the approver flow.
Common Problems
| Problem | What To Do |
|---|---|
| You cannot find a reimbursement form. | Ask your administrator to check form status and role access. |
| You cannot choose a date. | The form may lock the date, or the period may be closed by the payment team or an administrator. |
| You cannot change position. | The form may use readonly position to keep approval routing consistent. |
| You cannot find an expense category. | The expense category may be inactive or unavailable. |
| Submit fails. | Check required fields, expense details, attachments, custom fields, and close period restrictions. |
| The attachment cannot be previewed. | Download it instead; not all file types support inline preview. |
| The reimbursement does not move through the expected approval path. | Ask the administrator to check your position and the form approval rules. |
| You submitted the wrong claim. | Void the claim if available, or contact your approver or administrator. |